Been a while

A big while, after my 24 year survey exhibition my work stopped – Now I am moving again.

Currently preparing a set of small format short run books of previous portfolios. First is a comment on my portraits of Western Australian Artist Howard Taylor, the second is about the forest protests in Western Australia. Both coming soon, as soon as the texts have been returned from Prague where they are being edited.

Second rough book cover design

Ikeda Anba 5×4″ camera review

Description; the Ikeda ANBA camera is a traditional cherry wood and brass field camera with silk lined dog coloured kid-leather bellows.  The craftsmanship is superb, as good as my old and long-ago sold Gandolfi 1/2pt camera.  At 1.22 Kg for the body it is as light as a wooden view camera can be.  It is also tiny, 285mm inc’ knobs x 173mm x 62mm when folded, as small as is possible with a reversing 5×4″ back.

I have purchased this very light camera as carrying the Linhof STv kit through forests and swamps and along beaches and over rocks is getting too much.  The Linhof is 11Kg for the kit with three lenses and no tripod.  The Linhof STv body weighs 3.5Kg.  The Ikeda body is 1.22Kg, and if I am very careful with what I take with it I should be able to keep the whole kit with film to 4.5Kg.  However this comparison is disingenuous, as the Linhof has Linhof stuff, which is heavy, while the Ikeda will have very light weight filters and hoods, and not much stuff so  can carry as much black and white film and continue large format photography for as long as possible.

Ikeda Anba 5x4" camera folded

Ikeda Anba 5×4″ camera folded

Lenses and kit; the planned kit is body, 90mm Schneider Angulon and 135mm Schneider Symmar lenses for landscape work, and sometimes also a 180mm Symmar, six DDS, (double sided film holders for a total of 12 exposures). a Weston V exposure meter, a tiny pouch of 40.5mm filters, two lens hoods, a small focusing cloth and a notebook

I had not expected the camera to be sturdy enough to carry a 180mm Schneider Symmar lens, but it will with ease, but that will be the longest.  I don’t want lenses to be hanging beyond the bed on such a light and almost flimsy machine.  I type almost flimsy, and it is, but when locked it is actually a stable camera when the bed is not very extended.  To this end a small brass stop block will be screwed to the bed to prevent the focusing track moving beyond half way, which is 270mm extension from the film plane.  This will allow 1:1 image ratio with the 135mm Symmar, but as this is not a great camera for close working all this is conjectural..  Any more and the focusing track will flex.  That is the pay-off for having a light weight camera.  With the 180mm Symmar that gives just over 1:2 image scale

Ikeda Anba 5x4" camera with 135mm Symmar

Ikeda Anba 5×4″ camera with 135mm Schneider Symmar lens

Another aspect of lens extension with a fjord camera is wind on the bellows.  If the camera is used with any amount of extension on a windy day there is the problem of the front and rear standards vibrating as the wind causes the extended bellows to pulse.  (It was this effect on my Gandolfi 1/2pt camera at Severn Beach at the head of the Severn Estuary in the 1970s that caused the English Littoral Portfolio to be photographed with a Rolleiflex).  I predict this camera will have real problems in wind with a lens longer than 150mm.  But as all my Broke Inlet work is with 135mm at the very longest it should be OK.  In forest the wind becomes diffused.

When I was considering buying this camera I kept thinking about the slots in front of the rear standard.  No one ever mentions these on the Wise and Wonderful Web, but I was sure they would allow the rear standard to slide forward for wide angle work.  They do, and the arse end will to go to the middle of the bed, which makes use of wide angle lenses very easy.  In the case of this individual camera it has obviously never been used with the rear standard moved forward, and that movement was very stiff.

Ikeda camera with 90mm Angulon in recessed panel

Ikeda camera with 90mm Schneider Angulon in recessed panel. Note rear standard slid forward so a wide lens will clear the baseboard

The main fault with this camera is that the focussing racks should be packed, but with this machine the racks are screwed in from the side, so rack packing will be difficult.  The addition of nylon washers to the locks will allow some degree of controlled slippage for nice tight focusing.  Before getting nylon washers I will use home made yogurt carton plastic ones.  In the meanwhile, it is easy to hold the focusing knob in place while the focus lock is tightened, and check locking has not moved the standard backwards, which can happen

Ikeda Anba camera rear view

Ikeda Anba camera rear view showing simple but strong spring back

Focusing screen; the other complaint was that the screen is too coarse, but I was expecting that.  I have replaced it with a spare Sinar screen, which is perfect for it.  The Linhof screen is also a bit coarse, but I have lived with that for about thirty years

Camera movements are limited, beautifully limited for a landscape camera, with a small amount of front rise, shown on the top photograph, front swing and a bit of front and rear tilt.  For forest work a bit of front rise will do, and for the coast a tiny amount of rear tilt.  The pay off between front tilt and rear tilt is that rear tilt retains the use the centre of the lens coverage, where it is sharpest, but can distort the image.  For coastal work this does not really matter.  Using front tilt there is no distortion, but the lens coverage moves off to the edge, and image quality and coverage can be impaired if the lens has limited working angle.  The front rise is the only truly awkward aspect of this camera as it requires thee hands, one on each locking knob and one to support the lens, which will slide down unless held.  This design quirk is shared by the Tackihara.

For more extreme movements or bigger lenses I still have the Linhof STv for location and Sinars for studio work.  To ask a small wooden camera to act like a full blown studio camera is silly.  If you aspire to large format work, get a field camera and a Sinar studio monorail.  If you are a cheapskate you can make them share lenses with the use of a Linhof to Sinar lens panel adaptor plate, but we will speak no more of such parsimony.

Update I; the 90mm Angulon has had to be returned to its Linhof recessed panel, as shown in illustration.  The lighter flat panel I had mounted it on gives the front-rear focusing pinion change at 15′ – The normal distance for use and an therefor an annoyance.  The other benefit of this is that the the extra 12mm/ish extension allows an easy full rise on the front standard.  The big surprise is that the venerable and ancient 90mm Angulon will cover the whole 5×4″ image with the back in the vertical position and full rise.  However,  I am not expecting great things in the corners

Update II – 2019/07/10 , This kit now has a 12cm Schneider Angulon from 1939 as its basic lens.  (See the Angulon post).  This combination works very well for landscape and brings the weight down even further.  Other lenses, 90, 135 and 180 are carried in the big bag of loaded film, which sits in the car while I am working.  This alternate lens option gives me the use of these lenses provided I can predict what I will need at the site


Schneider Angulon Lenses

Schneider 90mm Angulon lens cross sectionSchneider Angulon 90mm lens cross section

I have always preferred simple lens designs.  One of the all time classic simple lens designs is the Schneider Angulon, a six element two group design from 1930 which still works well for landscape work and is tiny and light weight.  I have three of these, a 165mm with a 10×8″ kit, and 90mm and 12cm ones for 5×4″ landscape work.

Schneider 12cm Angulon lens on Ikeda Anba camera

Schneider 12cm Angulon lens on Ikeda Anba
(Note rear of camera is forward for wide angle use and slight tilt on rear standard)

The 12cm one was bought specifically for use with my “new” Ikeda Anba wooden camera for Littoral work at Broke Inlet and for karri forest images. (See the blog post about the Ikeda Anba camera for more information).

Linhof STv camera with 90mm Schneider Angulon lens

Linhof STv camera with 90mm Schneider Angulon lens

Early versions of these lenses illuminate a far wider circle than can actually be used, as the corners turn to photographic porridge.  See the following scan of the 10×8″ neg with the 12cm Angulon.  I use 10×8″ to try lenses for 5×4″ as this usually gives the whole circle of coverage and a very good indication of what a lens will do and what happens with too much rise or fall.  However, being a photo-grub at times I like this effect and may make a wide angle 10×8″ camera to use this effect/defect

!0x8" test of 12cm Schneider Angulon lens

Test of Schneider 12cm Angulon lens at f18 on 10×8″ film (Excuse the mid Winter garden mess)

As the Angulon is a simple design uncoated Angulons are absolutely fine, as this is a flare-free design with only two internal air to glass surfaces.  My 12cm Angulon is uncoated and from 1939The popular belief among young Leica photographers that it is impossible to make pictures with un-mulit-coated non-aspheric lenses is unfounded

I have read a lot of reports that these lenses have bad curvature of field, but at normal landscape apertures this has never been a problem, and in any case the image for a littoral or desert landscape is set up with a bit of rear tilt, so focus is checked on the ground glass screen.  Very few field camera and technical camera bodies will allow much rise with wide angle lenses, and I have no intention of carrying a Sinar into the Australian landscape, I will leave that for the mad ones.

Assesment, The Angulon lenses are very light weight and small and should be very affordable.  The design gives a very capable lens with more than adequate sharpness in the centre of the field, which broadens when stopped down.  There is no flare and it has good contrast.

PS – Parting thought, 35mm is my favoured focal length for 35mm work. A 5.6 Angulon design for 35mm in Leica screw mount would be an utter dream of a light weight lens, and for normal daylight use f5.6 is fine.  I have a pair of Voigtlander 35mm lenses, f2.5 and f1.7 for a Leica IIIc and both are far too complex, I like simple lenses

PPS – Half an early version of the Angulon was the logo for Schneider for many years, possibly still is, but the idea of buying a new Schneider lens is not in my mind.

Taking Pictures – Telling Stories

Taking Pictures – Telling Stories*

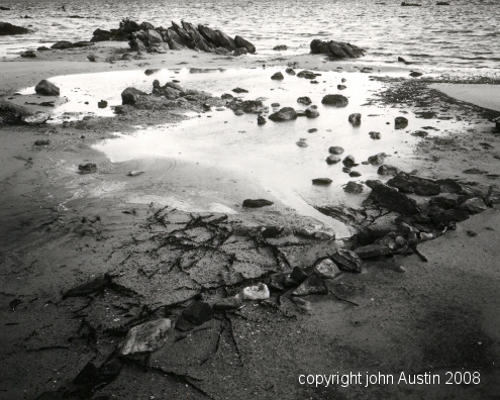
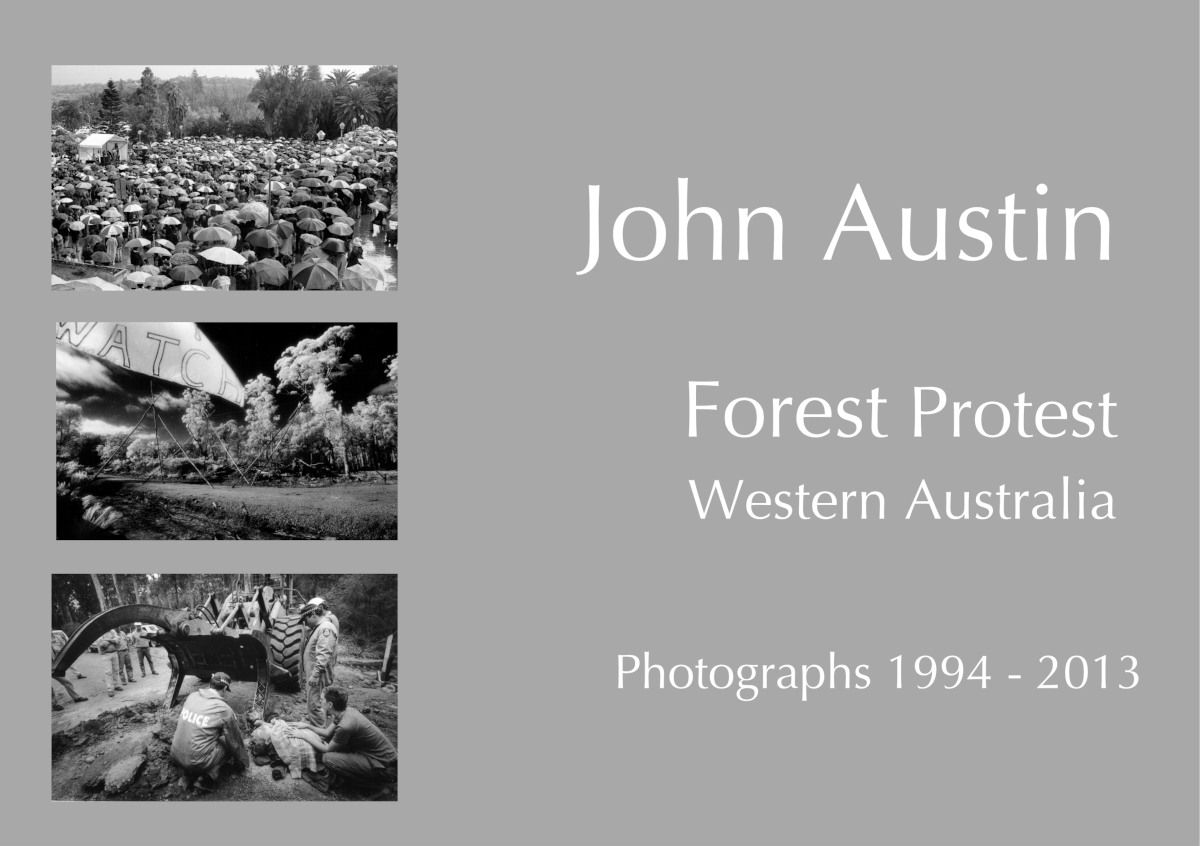
I started environmental photo documentation in 1972, but the most important work was in the south west forests of WA in the mid to late 1990s.   It is in part a review of this work for a recent traveling exhibition that has prompted this post

But the actual trigger for this post ws re-reading Truman Capote’s opening paragraphs to In Cold Blood, which he wrote with cinematic precision.  Capote first described the location and its feeling, followed by introducing the main characters and then the story.  Read this book, it is a masterpiece of story telling

This information is intended as a guide for people who need to document the environment and its defense.  This post should be read as a guide rather than rules.  Take what you want as a starting point for making picture sequences and videos that are understandable and make the story clear.  Clarity is crucial in the age of short attention spans.

Environmental stories from the South West of Western Australia are needed again – now.  For people about to embark on documenting environmental stories here is a quick reminder of a few points to help picture stories that make sense to an uninformed viewer.  Making sense is the whole point of them

Documentary clarity is crucial to easy reading of the story, and if the story is not clear no one will give heed to it.  In this time of digital image overload image strength is also crucial, and the two aspects must be fused to make images that demand and command attention and show that the health of the environment is the most crucial story at this time.  Most attention is given to social problems and to mass migrations, but without a healthy and sustaining global environment, no amount of social progress can happen

To make cogent and commanding sequences and videos there is a list of important steps to be undertaken,  The steps are Story or Concept – Research – Planning – Photographing – Review and finally Publication, editing and showing.

If a situation presents itself before the planning stage is ready, grab it and do the homework afterwards, but still do it.

THE STORY
There is a modern idea that reporting shoud be “fair and balanced” or “objective”, meaning showing both sides of an argument, the sort of demand made of the ABC by Andrew Bolt on Sky News.  Forget that crap, take a stance and be partisan.  Be prejudiced, the environment is on its last stand, and it needs committed support.  (See my earlier post regarding Martha Gelhorn).
This has to be something that attracts and engages you, it is impossible to be engaged with a story that you find boring.  No engagement equals no energy in the pictures and no power in the story

RESEARCH
Research
is crucial, If you are documenting damage to lakes or wetlands set up a research file on the locations, their hydrology, acid sulphate soils.  Get the maps.  As well as this information, make notes on the main protagonists.  What companies are conniving with which government agencies to gain access to what resourses?  Who is setting up to defend the environment?  For Old Growth Forest Logging do the same, starting with coup maps and logging quotas.  This information will inform the way you record your story and enable you to defend your stories if questioned.

PLANNING
There is a lot to go in here, choice of means, still or video etc; aesthetic approach, intended audience.  Aim at an untutored audience rather than the already committed.
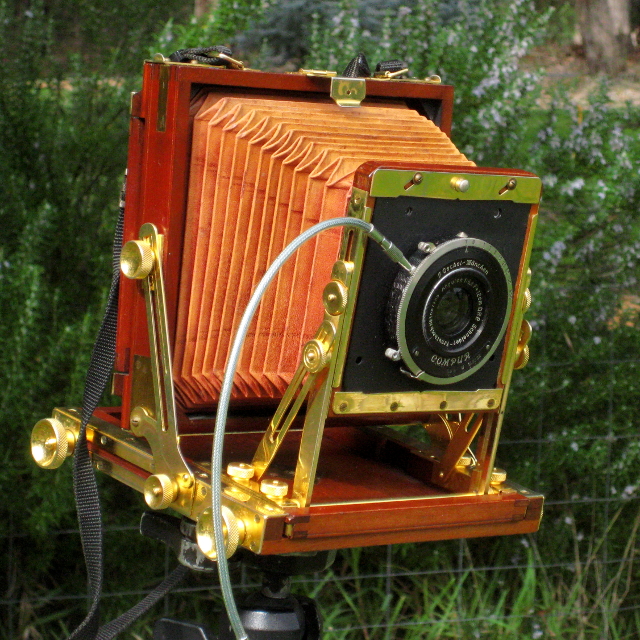
As well as digital cameras, a lot can be done with a mobile ‘phone camera.  With a mobile phone stories can be rough edited and uploaded once you are in range of a tower.  You will learn what suits you after the first couple of attempts.  (Black and white film and darkroom printing is for misanthropic septuagenarians, one of them is enough.)
Also under planning is setting up a time line, what aspects of the story can be recorded where and when and how and with whom.

IMPLEMENTATION
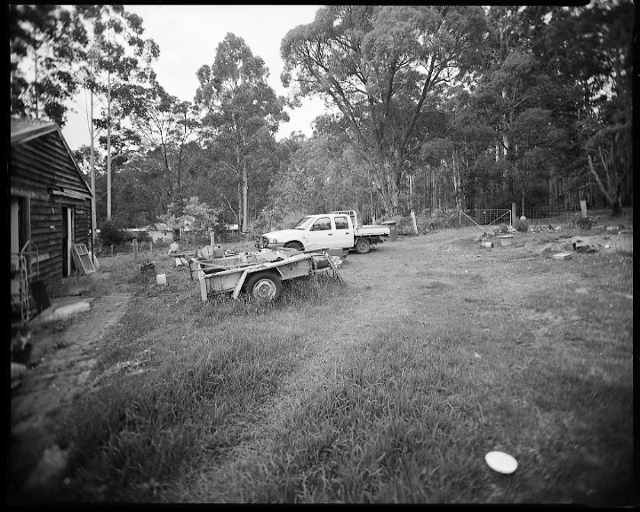
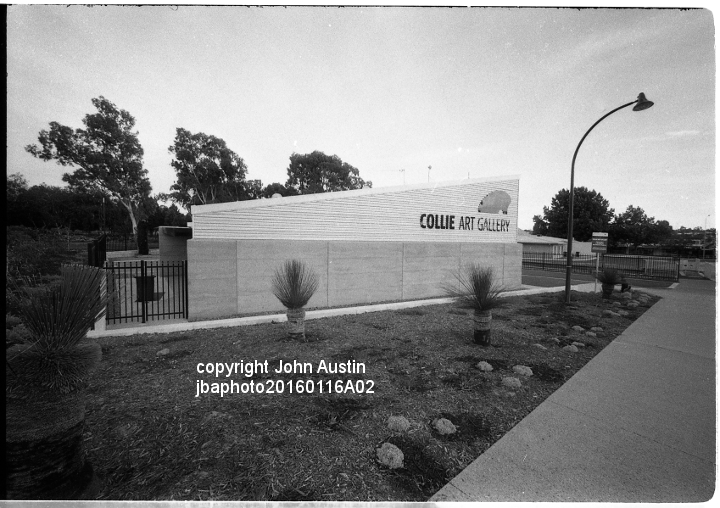
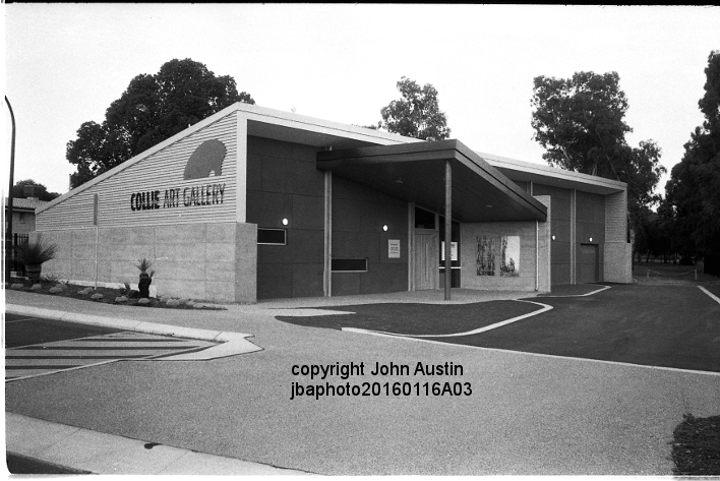
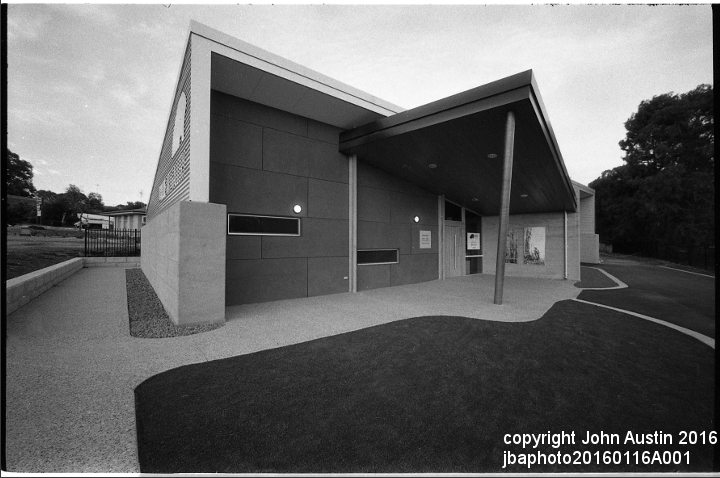
The doing of it.  Earlier I referred to Capote’s In Cold Blood.  Like him, use a sequence of introductions: a cinematic apporach, starting with the establishing shot that shows the location and gives context to the story.  Establishing shots can be made before, during or after an event.  Make them whenever you get the opportunity, you don’t yet know what you will need, so build up a library of these.  However, always start with some establishing shots at the beginning of the event or location you are documenting, use wide angle, showing the whole scene.  Next go in for a medium angle shot showing the area of interest, do this from two sides.  Next get in a close as you can, the four positions forming a diamond shape.  Having got those images recorded, become more fluid and let the situation dictate what you photograph next, and let whatever the light, the situation and your creative ability generate.
Make notes.  Many point and shoot cameras and mobile ‘phone cameras record not only the time but also the precise location in the EXIF metadata.  EXIF metadata is superb for authenticating a story.  OK, is true that EXIF metadata can be overwritten, but no one ever bothers, and many people don’t even know it exists.  This is where film is good, there is no metadata
Keep a journal, not just the fluffy stuff, but notes on light, who was there, distances driven, to whom copies of images have been sent, all the stuff that is easy to forget after the event

REVIEW
When you are in a quiet place review what you have and see how a story can be told from it.  Don’t be kind to yourselff..  If you think your work is great, it is time to stop, because you won’t improve.  Be careful whom you ask for advice, most people will not want to hurt your feelings.  This is one area where an objective critical response is needed to help you advance; this is often the point at which we feel most alone.

PUBLICATION, EDITING AND SHOWING
Editing
is another area where we could do with help, but can rarely find it.  A good editing position is to cut rather than include.  It is too easy to put in too much, making the finished product long and indigestible.  We are telling a quick story to grab attention in C21, not recreating Kobayashi’s The Human Condition.
Showing, this is where my experience lets me down, I came from an age of shopping centre displays of prints and town hall slide shows.  C21 has moved on from there and I am not in a position to say anything more.

*The title was coined by Liz Reed in 2004, and used by the first FotoFreo event

Images to follow – later
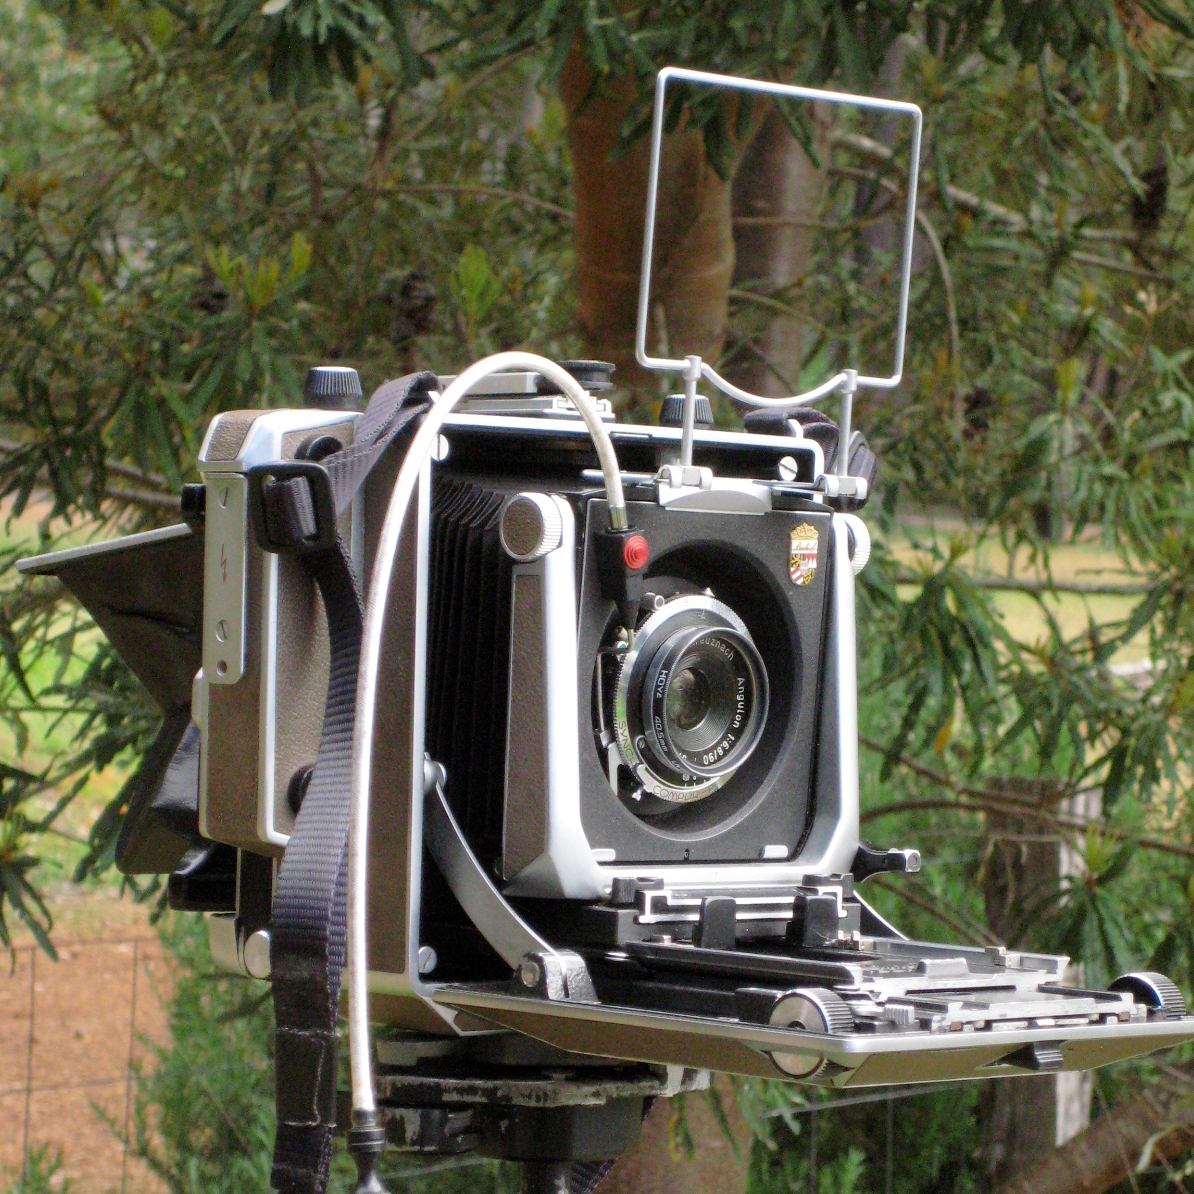
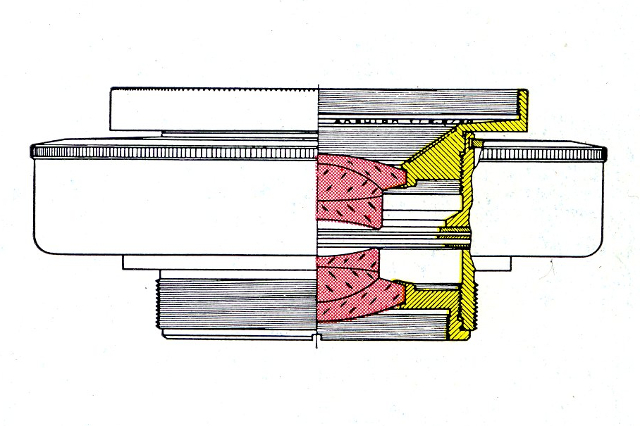


Super Wide Woody

Super Wide Woody

Oct 31st, 2018

SWW camera

Most of my newer work is either 35mm or large format, and medium format camera use has fallen through a hole in the middle.  For me medium format always felt like it had the disadvantages of both small and large formats.  So I have passed my Hasselblad SWC on to some one who will use it as it deserves

Enter the Super Wide Woody, SWW

A big time ago I bought a 75mm f8 Super Angulon for the Linhof, but wide angle on these cameras is an utter pain in the arse, even with recessed lens panels.  I had considered getting a wooden camera to replace the Linhof, but each time I consider this I weigh up all the options and stick with what I know and trust

Linhof 90mm Angulon

My first 75mm f8 Super Angulon was in a recessed panel for the Linhof, but this lens, while an optical delight, was in a Compur shutter that was awkward and fiddly to use inside the recess. So I swapped it with a friend for a f5.6 version in a Press Copal shutter, a very easy and sensible shutter in many ways, but it could not be fitted into the recessed panel and work.  It works on a flat panel, but the Linhof standard ended up partly off the back of the focusing rail.  (For comparison 75mm on 5×4″ is equivalent to 38mm on 6×6 and 21mm on 35mm film, so becomes the “standard” super wide angle)

SWW in use

As I wrote, enter the SWW, Super Wide Woodie, a wooden camera box to take a Speed Graphic focusing back on one end and a Goersi helicoid focusing mount on the other with the lens mounted on this.  Added to this is a Goersi 72mm view finder on the top.  A 72mm VF as that was what was available and all these optical viewfinders have too much “TV Safe” clearance, which means the negative shows far more than the viewfinder does.  Even Leica viewfinders have this fault

I took the idea to sculptor and photographer Peter Kovacsy in Pemberton, and very quickly he came up with the camera body shown.  Not the design I had envisaged, but very light, with a logical use of materials and a simple elegance

Peter Kovaksi 228

Peter Kovaksi 243

Peter Kovaksi 244

This camera has the advantages of an easy to use International back for view camera screen focusing and composition. This is aided by the very sensible Press Copal shutter which opens the aperture as well as the shutter when the press focus lever is pressed, so is very fast and convenient.  Also easy is the viewfinder and scale on the focusing helicoid for fast and simple working.  This scale is surprisingly accurate, and will be augmented with a Hyper focal Distance scale after I have done actual tests resulting in prints. Currently the HfD stuff is on a piece of card

Next post will be pix from it, rather than of it

The Show is Over – Part II – Where Next?

Continued from The Show is Over: Part One

My photography has always gone ahead of my concious thinking and I never manage to catch up.  An example of this is the precursors.  Throughout my work there have been precursors, images that seem out of kilter with the work I am doing, but prefigure later portfolios. For example, within the work with women there were some images made with women in the landscape in 1993 which predicted the forest work.  At the time I did not know what was pushing me away from my studio, where this work was being done.  In 1994 I bought my house in the forest, and very soon decided to move here full time.  But the 1993 pictures at Abyssinia Rocks and Walga Rock led the way,  I just carried the camera for the pictures to clamber into and dutifully followed where I was led.  It has always been thus with my work, I just carry the cameras and feed them film.  Yes, total mindlessness . . .

It was the essays, by Sarah and Diana, and re-reading John Barrett Lennard’s essay to my first 24 year survey show calalogue, that opened my awareness to some aspects of my work I never understood, aspects that are possible directions for new work

First printing, printing negatives from 1963 (ninteen sixty three) onwards, a serious printing period to update my body of work

Then more forest work, showing the state of the south west Western Australian forests in 2018+, following from the 1994 – 2003 sets of images.  Add to this more Littoral images, but without differentiating them, perhaps re-label all of them as Southern Forest Region.  Also simple pictures of trees, like the new images of Melaleuca cuticularis at Broke Inlet, from where Rae and I have just returned.  Images where light is prime driver, more important than a mere catalogue of species

The above paragraph shows I have no plans for major travel, the Weatbelt excepted, but that is only a day away.  I am one of the photographers who work in their local area and try to dig deeply and extend my understanding of where Iive.  The other attitude is to keep constantly on the move and keep finding new subjects, but this approach can lead to a superficial reading of the world.  There are, obviosly, workers like W E Smith and Edward Weston who traveled and waited until the local visual mycellium entered their vision and they saw with almost local eyes

After that re-studio my shed and make the big 10×8″ camera portraits I once planned.  Perhaps not for Bunbury, ‘though that tiny white confrontational cube is enticing

The Show is Over – Part I Nov 20th, 2018

My second twenty four year survey is over, where to next?

Gallery from outside at dinner time

Mainly, I feel liberated for the next phases of my work, but to that later in this post

Firstly, I will thank Julian Bowron, then Director of Bunbury Regional Art Gallery, BRAG, for inviiting me to have this show and for the organisation of the first stage, and for constant input to the show’s tour.

From Julian’s introduction to the catalogue “I first became aware of John Austin’s work when looking through the City of Bunbury Art Collection and discovering images from his enigmatic portrait series of the artist Howare Taylor. . .  By then I knew that on the edge of the forest at Quinninup lived a remarkable photographer who should be the subject of a BRAG retrospective exhibtion by a senior South West artist . . .

The show was far harder than I had imagined, at first it seemed it would be simple.  Julian suggested the show during the Doug Chambers opening. I thought about a small show of big prints of 10×8” camera portraits in the tiny cube gallery in the middle of BRAG.  Big confronting prints with no room for the viewer to stand back for relief, and I would still like to do this.  During our subsequent meeting Julian corrected me to a twenty four year survey show.  I glibly accepted, thinking that the work was done, the prints existed in my plan chest, and all that was needed was a competent curator, a catalogue and funding for framing

Nothing could have been further from reality, it was a lot of hard work.  Almost all the prints are new prints, the matting was tedious and the mental stress was huge.  But the show was ready a month before the opening on 16th September 2017, and the beginning and end tour dates penciled in for Busselton and Manduah

The show has had a lot of great responses, and in particular the reception from women has been understanding and embracing.  It has generally been women to have responded best to my work.  It was two women,  Diana McGirr and Sarah Drummond and who wrote the penetrating essays for the catalogue.  Added to this are Eva’s comment in the BRAG visitor comments book and Rachel’s perceptive comments via Messenger that became the text for the Manjimup leg of the show

Survey II.v 1994 – 2018 at Mandurah WA

The Mandurah WA leg of my Bunbury Regional Art Gallery (BRAG) Touring Exhibition opens on Sunday 14th this month at 4.00pm at the Alcoa Mandurah Art Gallery, Mandurah, Western Australia

This showing has been curated and hung by Gary Aitken based on the original BRAG show in 2017 curated and organised by Julian Bowron

Julian Bowron has kindly agreed to open the show, as he understands my work as well as I do and as he was guilty of the idea for this show
John Austin Mandurah invitation

Justine

I am rereading Lawrence Durell’s Justine. On page 36 is the cogent phrase “We are the children of our landscape” in a section where Durell is rolling the tongue of his mind around thoughts on Gnosticism. The cogency for me is because I am currently preparing for a 24 year survey exhibition, a kind of swan song exhibition

Part of this show is to be a series of images from the Australian Littoral Portfolio. I have always had difficulty with the Australian landscape and I have yet to see anyone have success within this genre. In the mid 1970s I was working on a body of English littoral landscapes, lonely, cold, uninviting beaches that deeply resonated with my personal feelings at the time

Some of my genes had spent a minimum of 1300 years in Somerset, some of them millennia, so I felt part of that landscape. In Australia working is still like walking in a strange land. Following my Australian forest landscape work, made in concert with my Forest Protest images, I tried a return to the littoral as a possible path into the Australian landscape. I feel I have had more success here than in the forest images.

jbaphoto080430-4

Broke Inlet, Australia, 2008

Broke Inlet, Australia, 2008


Remnants Exhibition, Collie Art Gallery

REMNANTS EXHIBITION
Collie Art Gallery, Collie, Western Australia

Paintings by Galliano Fardin, Lori Pensini and Tony Windberg, sculpture by Sandra Hill and Kim Perrier and photographs by me, curated by Joshua Thomason of Quinninup

Firstly the gallery. The Collie Art Gallery is a surprising achievement for a tiny coal mining town. It is a brand new, simple and elegant building with an exterior that has echos of past railway architecture, appropriate for the location. The large entry room is large, and just messy enough to be welcoming (this is a compliment). The main gallery states less about itself and more about the work than any other I have been in(1) (this is a seriously big compliment). The gallery in Collie was the work of a group of local women with Jan Wallace as the main instigator

jbaphoto20160116A002

Collie Art Gallery WA

Collie Art Gallery WA

Collie Art Gallery WA

Collie Art Gallery WA

Collie Art Gallery WA

My part in the exhibition is twelve silver gelatine prints of forest subjects, so the images are from 1996 to 2005. There is nothing newer on this subject as by 2003 I was in a clinical depression from the forest work I had been doing. This depression has returned while working on the selection and presentation of the prints, mainly vintage with the addition of three new prints from the Melaleuca Swamp series. Witnessing, documenting and fighting against the destruction of forest did that

jbaphoto20160116A004
Enough typing, time to add some snaps

(1 The two main regional galleries in the south of WA are old buildings with art galleries shoe horned into them, and neither really work, despite the best efforts of their directors and staff)

(2 Not that I still believe work in an art gallery can do that)